These small peanut butter cup Christmas trees were one of those Pinterest projects that looked really, really easy. In fact, I thought the hardest part would be sourcing the specific sized peanut butter cups I would need to make these.
That turned out to be the easy part, maybe because there were oodles of fun-sized candy bars left over after Halloween, but I had no trouble locating them.
Instead, I realized when I followed the Pinterest instructions someone had written that they led me astray. If you do a quick search you too will find instructions telling you to melt white chocolate or white candy melts. But when I tried that, the consistency was just not right. The Christmas trees ended up looking sloppy and I couldn’t control the piping because the chocolate was too hot. And then if I waited any longer, it cooled down and didn’t pipe easily enough.
In any case, I used these tiny trees as part of my place settings for a winter brunch, and they looked cute enough, but I knew I wanted to try again.
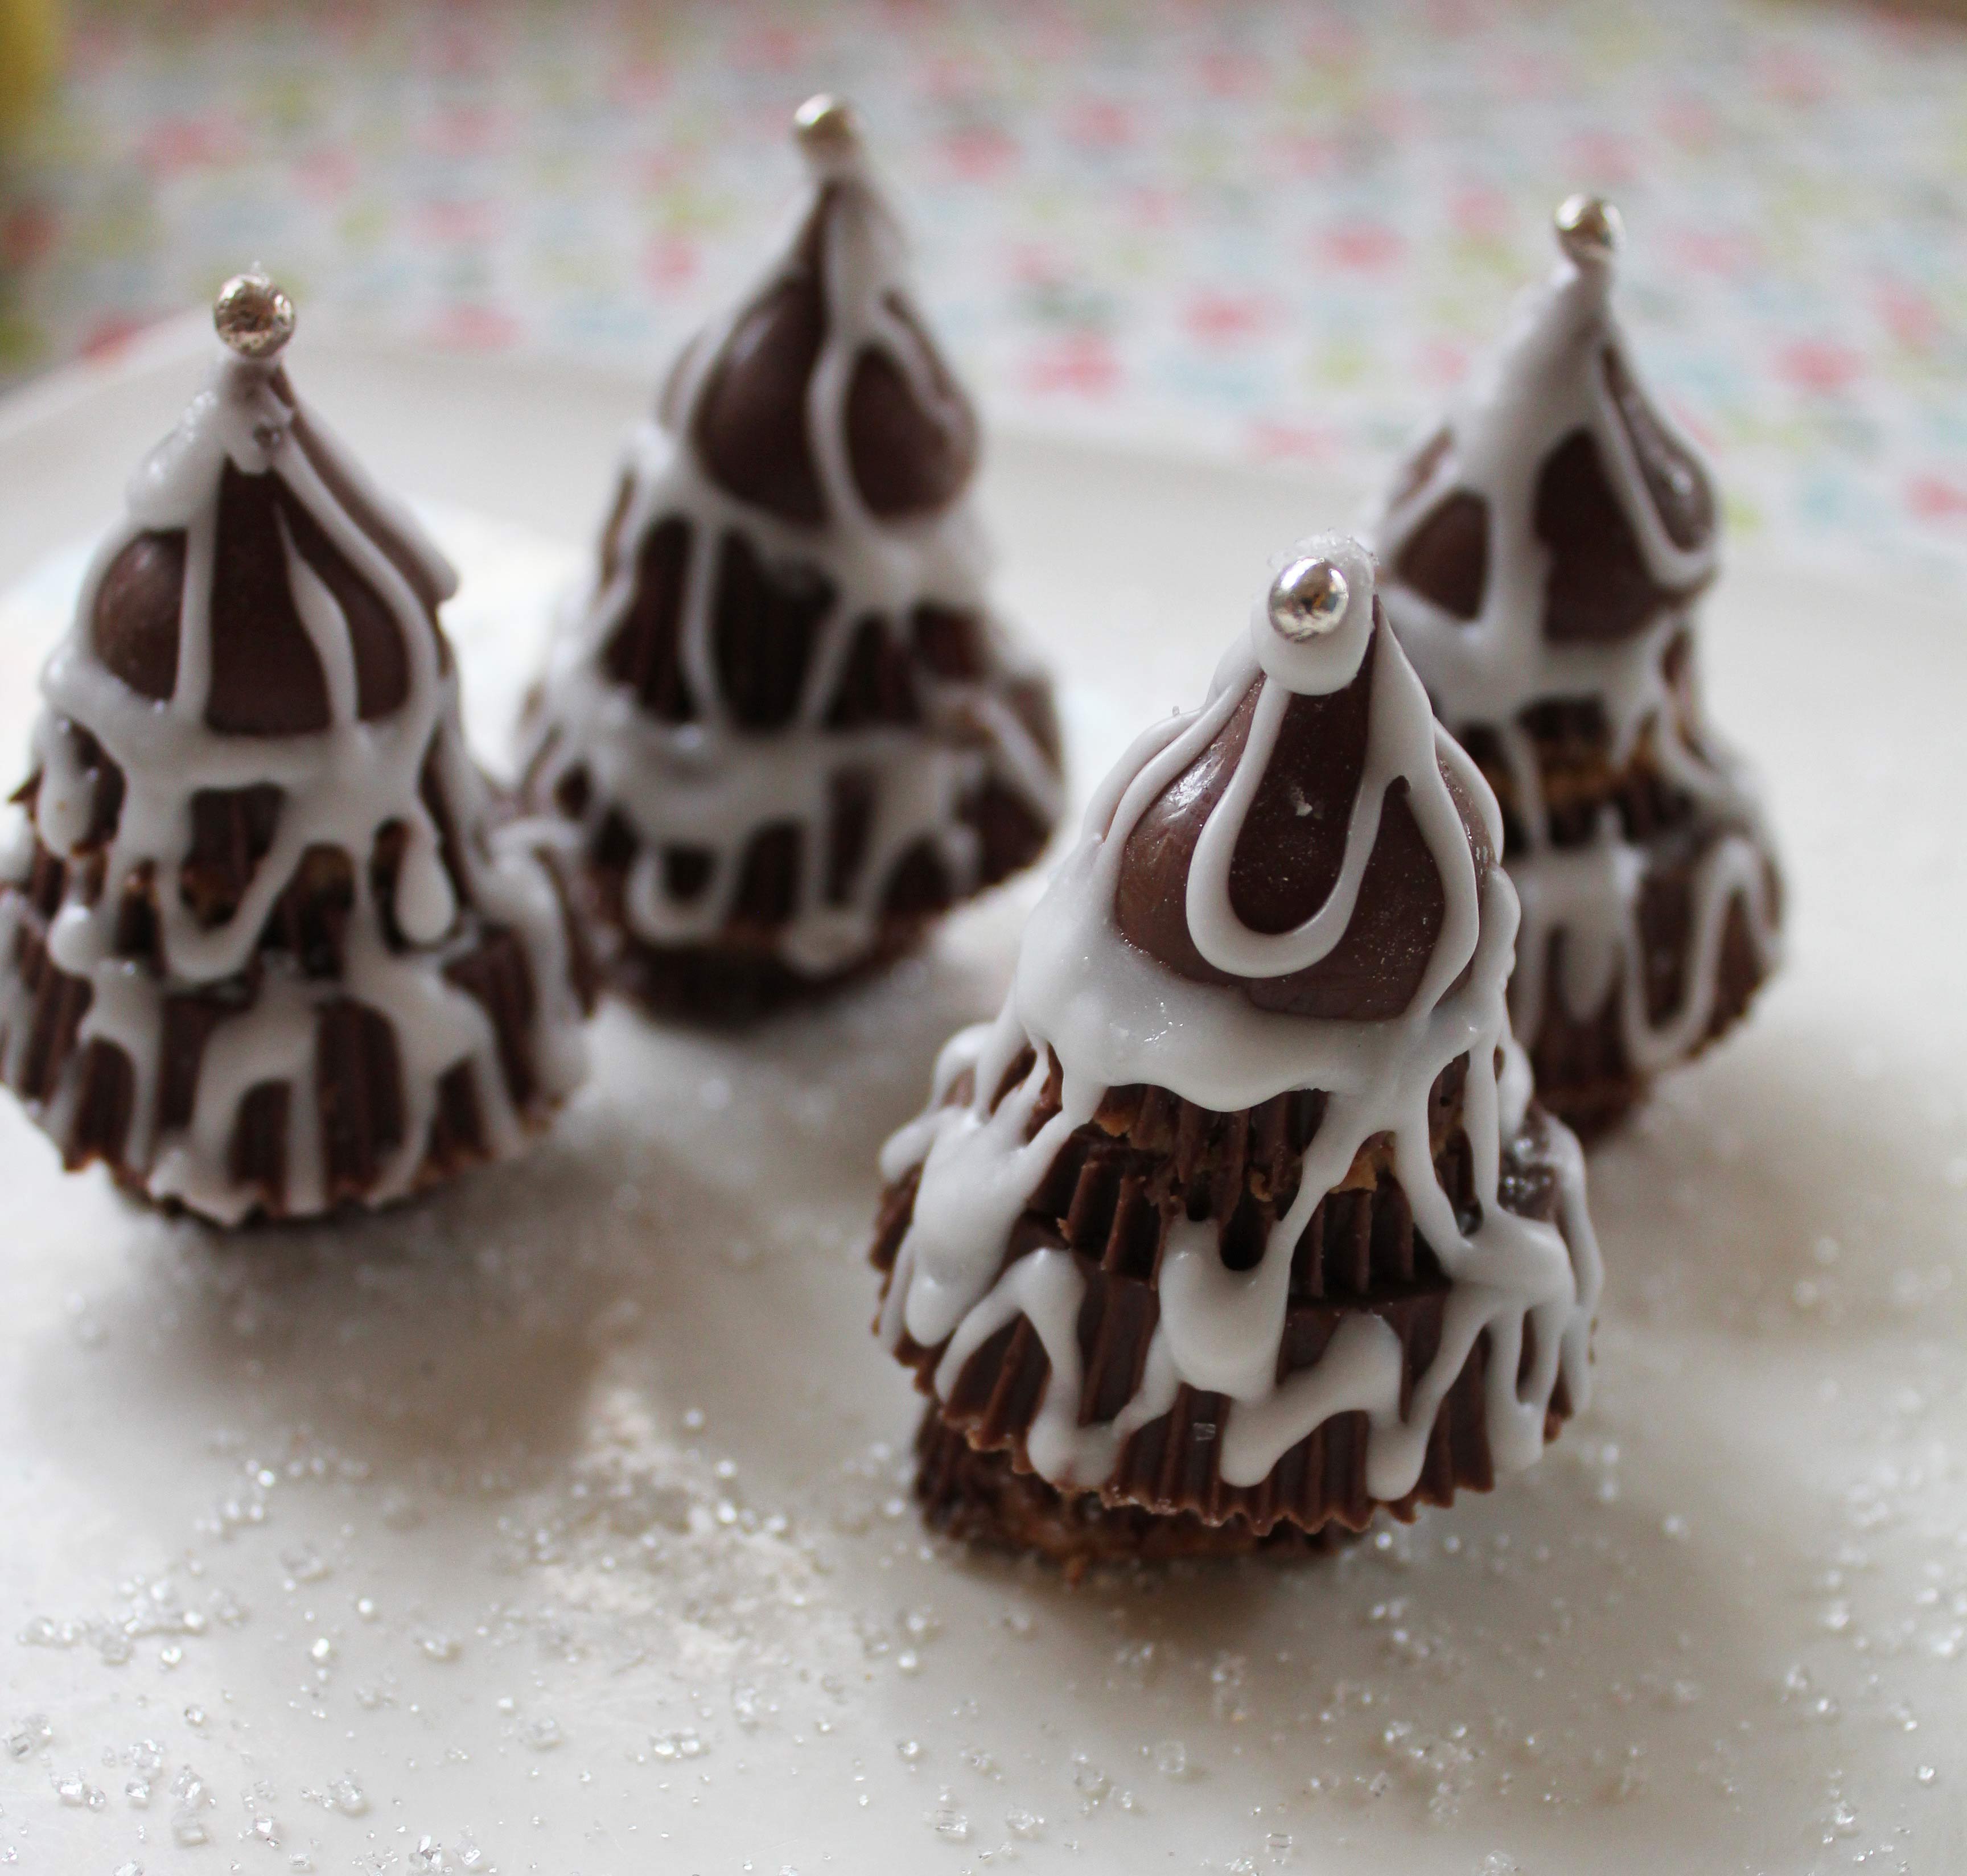
The second time, I made things easier for myself. For every tree you will make, you will need one Hershey’s kiss (the regular milk chocolate kind), two miniature Reese’s peanut butter cups, and one snack-sized Reese’s peanut butter cup. You decide how many you want to make, but get them all unwrapped and ready to go before you begin. I also used royal icing as the glue and for the piping this time, and it made all the difference.
To make the royal icing I simply used about a cup of powdered sugar and start pouring in a little bit of water in my mixer until I got the consistency just right. You should have more than a cup of powdered sugar on hand in case you need to add more sugar to even out the icing consistency. You want it to thicken up but be loose enough that if you stick a fork in and lift it up, the royal icing will fall in thin ribbons. Just keep playing until you get it right. I didn’t bother with meringue powder or egg whites.
Instructions:
I unwrapped all the chocolates and set them up as part of my assembly line so I wasn’t fumbling to take off foil when the time came to pipe the royal icing and “glue” the pieces together. I also used a regular Ziploc bag and filled it with the royal icing, smoothed out all the air before sealing it, and then cut a tiny hole to pipe out of.
Once you have all the wrapping off and the piping bag ready, begin assembling the tree.
To make the trunk, you will turn the miniature cup upside down, pipe a pinky finger-nail sized amount of royal icing.
Now place an upside-down snack-sized cup on top of it. Slowly drizzle the royal icing around the cup.
Now pipe another small amount of icing on top of the cup and place another upside down miniature cup on top of it. Drizzle more royal icing around the cup for decoration.
Pipe another small blob of icing on top, and place the Hershey’s kiss on top. Drizzle some more icing for effect.
At this point I used sanding sugar and placed one silver dragee at the very top.
Repeat, until you have as many trees as you want.
Substitutions: You may choose to use white non-pareils instead.
Would I make this again: Indeed, I think it’s a really cute idea for a children’s Christmas party or used like I did in a place setting. Once you get the hang of it, it is pretty quick and shelf stable. If I was back at work I probably would have made these for my colleagues.
Grade: Four and a half stars out of five. Half a point docked because they are somewhat finicky but these are so creative, and so cute.
Leave a Reply